Login to 192.9.200.123 with the prepress1 login and password.
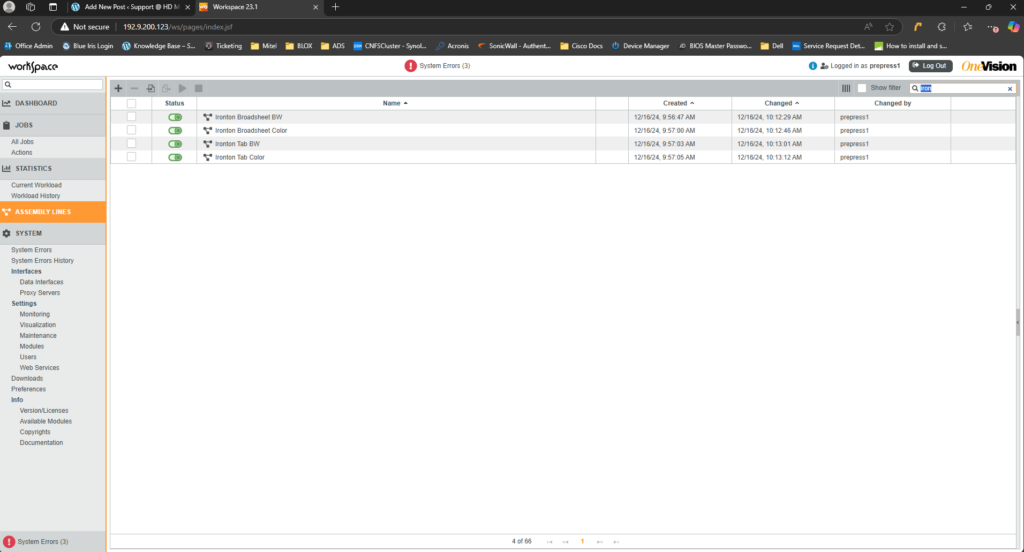
Select Assembly Lines from the menu on the left-hand side.
Use the search in the top right-hand corner to find the publication’s printing style you need. Usually, the maintenance director will request it to be like a specific publication in this example it is Ironton. The paper we are setting up needs the same transformations for white space and other modifications as Ironton.
If you hover over the assembly line, you need to copy then 3 icons will show at the end of the line beside of the Changed by field. You will select the middle icon to make a copy of that assembly line.
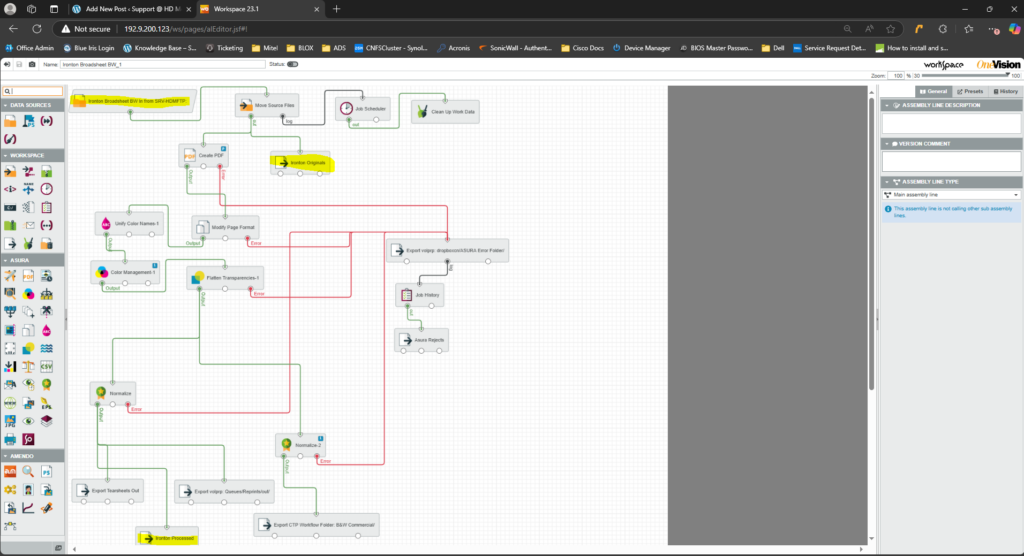
The copy will be named Ironton Broadsheet BW_1 or whatever assembly line name you picked with _1 at the end. Double-click this assembly line and it will bring you into the edit screen.
In this example and most others only the three highlighted folders need to be changed to the new data access points you setup on the FTP server. ***However, depending on the request and what assembly line you copied it is always good to double check where the folders will be output.***
After changing the folders, you will want to rename the assembly line with the correct Publication Name and type such as Broadsheet BW for this example.
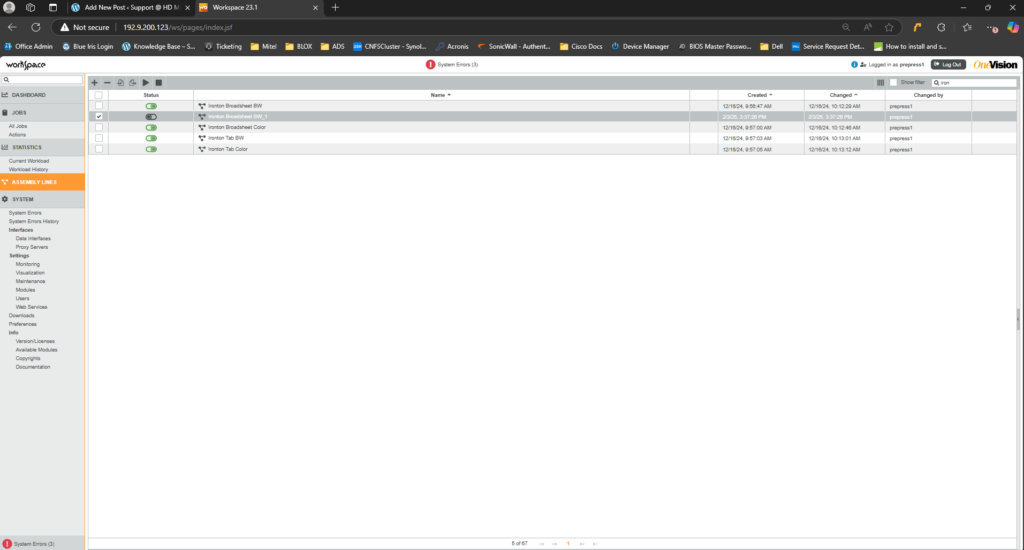
After copying the other assembly lines and changing the folders and assembly line names, you will need to turn on those assembly lines by toggling the switch below from gray to green. You can start having test files sent once you turn on those assembly lines.